
Two thin spacers can add up to the right thickness and still create the wrong mounting assembly.
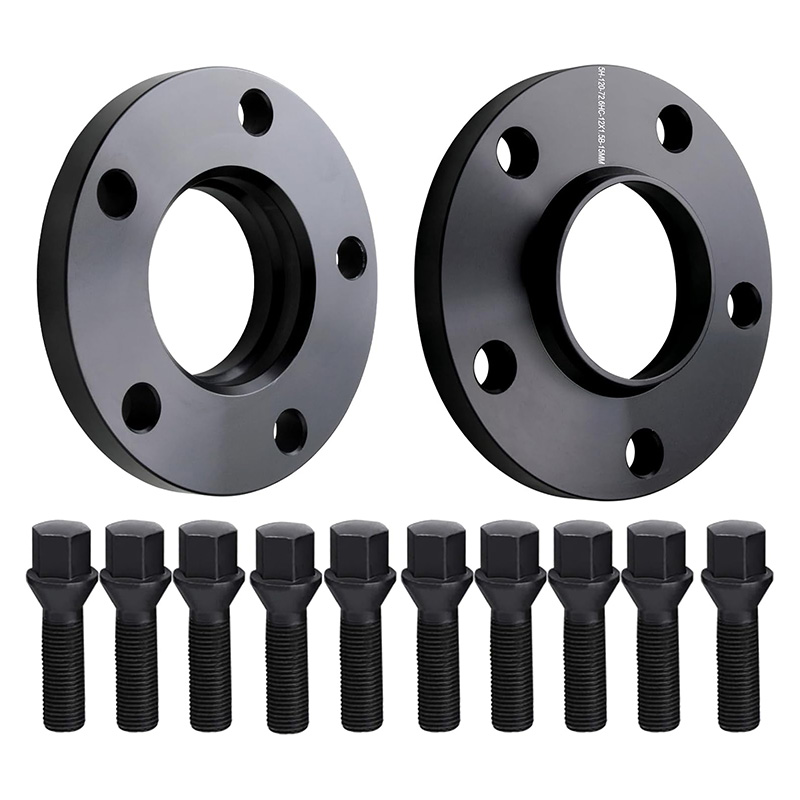
Do not stack independently selected wheel spacers to make up a thickness. Choose one application-approved spacer per wheel position with the correct hardware. A manufacturer-designed multi-piece system must be used only as documented; its existence does not make a homemade combination acceptable.
Two 5 mm spacers are not an approved 10 mm assembly
The arithmetic is correct: two nominal 5 mm spacers give 10 mm of total spacing. With the same wheel, that also gives the same nominal outward movement as a single 10 mm spacer. The missing information is how the parts locate, seat and fasten together.
A single spacer has one body connecting its hub-side mounting face to its wheel-side face. A pair adds another joint between those faces. If either piece has a locating lip, recess or chamfer, those features must also fit the neighboring component. A matching bolt pattern does not answer any of those questions.
This is not just a preference for a tidier installation. Eibach's PRO-SPACER instructions explicitly prohibit combining two or more spacer rings. That instruction applies to its product, and is a useful reason not to assume that individually suitable spacers become a suitable assembly when combined. [1]
Keep two decisions separate: first establish the wheel position you need. Then select a mounting system approved for that position. Total thickness answers the first question, not the second.
If the required wheel position is still uncertain, start with the wheel spacer fitment guide. Do not use a stack as a substitute for a complete clearance measurement.
The difference you cannot see in an offset calculation
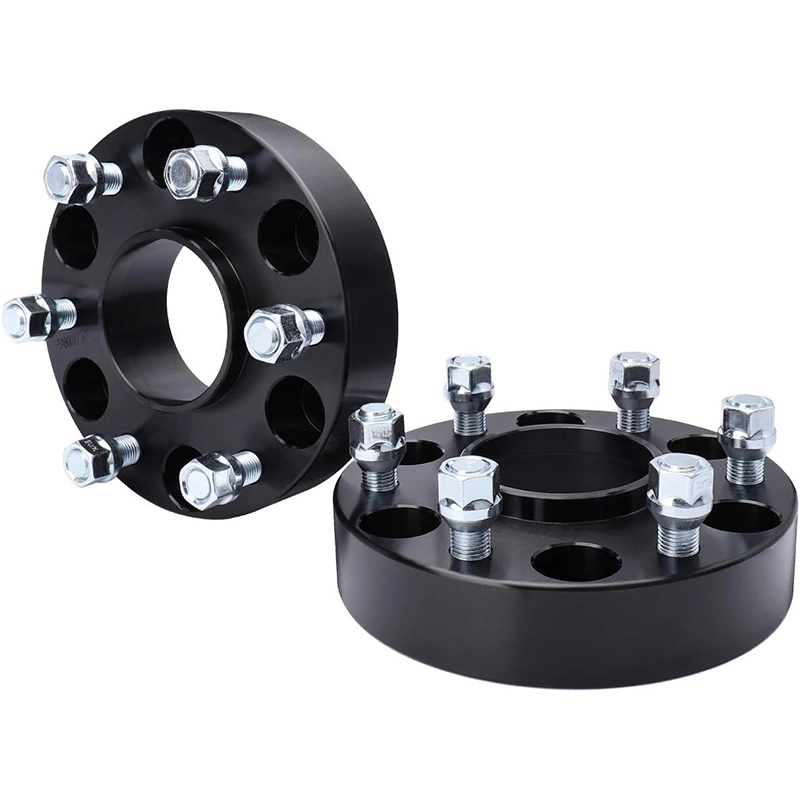
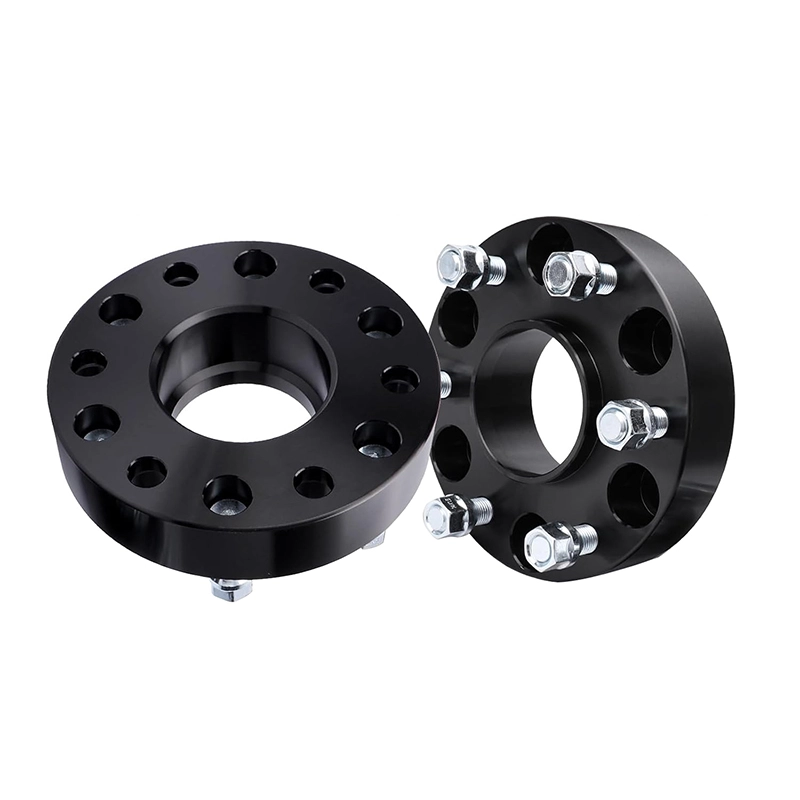
For a simplified slip-on assembly, one spacer creates two mating interfaces: hub to spacer, and spacer to wheel. Stacking two creates three. The new spacer-to-spacer interface needs its own compatible geometry and correct seating.
Every mating face must seat as intended. Dirt, corrosion, a burr or an incompatible recess can hold parts apart. Tightening the nuts does not establish that the faces were compatible in the first place. H&R's DRS installation instructions require correct seating at the hub and wheel interfaces. [2]
An extra interface does not provide a useful numerical prediction such as “twice the vibration” or “half the strength.” Those claims would require evidence for a specific assembly. The practical issue is simpler: an improvised stack adds a joint that the individual product's application approval may not cover.
Longer fasteners do not restore missing hub engagement
Axial spacing and radial location are different
A spacer moves the wheel mounting face outward. On a plain slip-on arrangement that still relies on the original hub pilot, this reduces the pilot length available to reach the wheel's centering bore. The wheel's entry chamfer also matters: reaching the mouth of the bore is not necessarily the same as engaging its cylindrical locating surface.
Adding another spacer cannot be justified by measuring only the bore diameter. A raised lip may bottom against the next spacer's recess, or the combined assembly may leave insufficient intended engagement at the wheel. Two parts described as “hub-centric” do not automatically locate correctly against each other.
Thread length solves only a thread-length problem
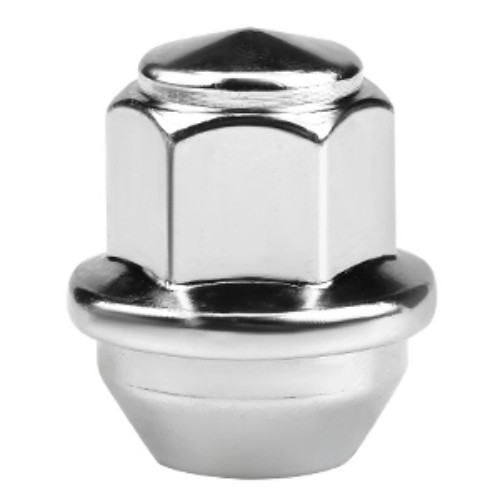
Longer bolts or studs may be required for a properly specified slip-on spacer. They do not correct incompatible centering features, a rocking mounting face or a wheel that is not seated. Excessive bolt length can also create interference or bottoming, depending on the hub and fastener design.
Use the hardware specified for the exact approved assembly, including thread, seat shape and length. Do not increase torque to compensate for a questionable fit. Our wheel spacer torque guide explains why a single generic torque number is not enough.
A useful distinction: “The nuts tighten” describes what happened to the fasteners. “The wheel is correctly seated and clamped” describes the assembly. The first observation does not prove the second.
What about a thin spacer on a bolt-on adapter?
A thin spacer can seem like a minor addition to an existing adapter. But its location determines which interface changes. That is why “it is only a few millimeters” is not a sufficient fitment argument.
| Proposed combination | What needs attention | Better next step |
|---|---|---|
| Slip-on + slip-on | An extra mating face, combined thickness, original pilot engagement and hardware length. | Specify one suitable spacer for the required total spacing. |
| Slip-on outside a bolt-on spacer | The wheel is moved farther away from the adapter's wheel-side pilot and studs. | Reassess the complete adapter-to-wheel geometry; do not add a loose shim. |
| Slip-on behind a bolt-on spacer | The adapter's hub-side engagement and mounting hardware relationship change. | Use the mounting arrangement in the adapter manufacturer's instructions. |
| Bolt-on + bolt-on | Another fastening stage, centering interface and greater overall spacing. | Do not improvise a two-adapter system. Ask for an application-specific solution. |
Specify the whole part, not an extra layer
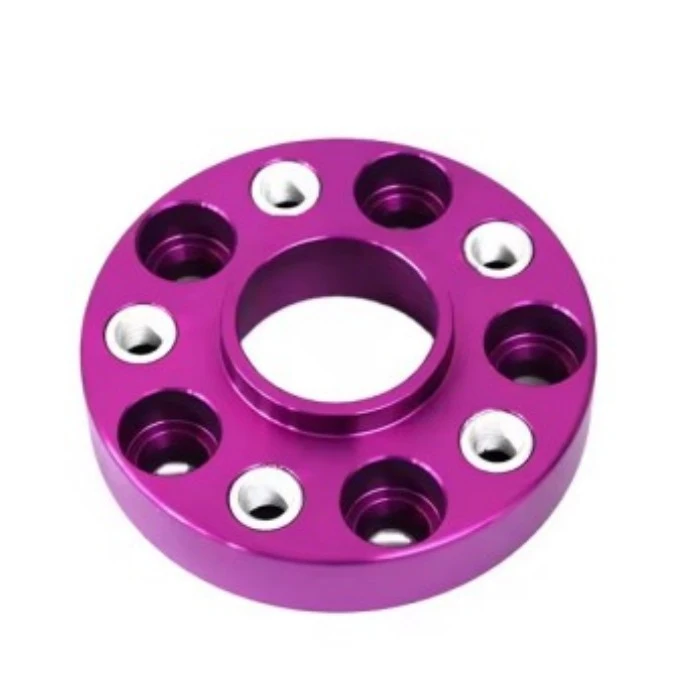
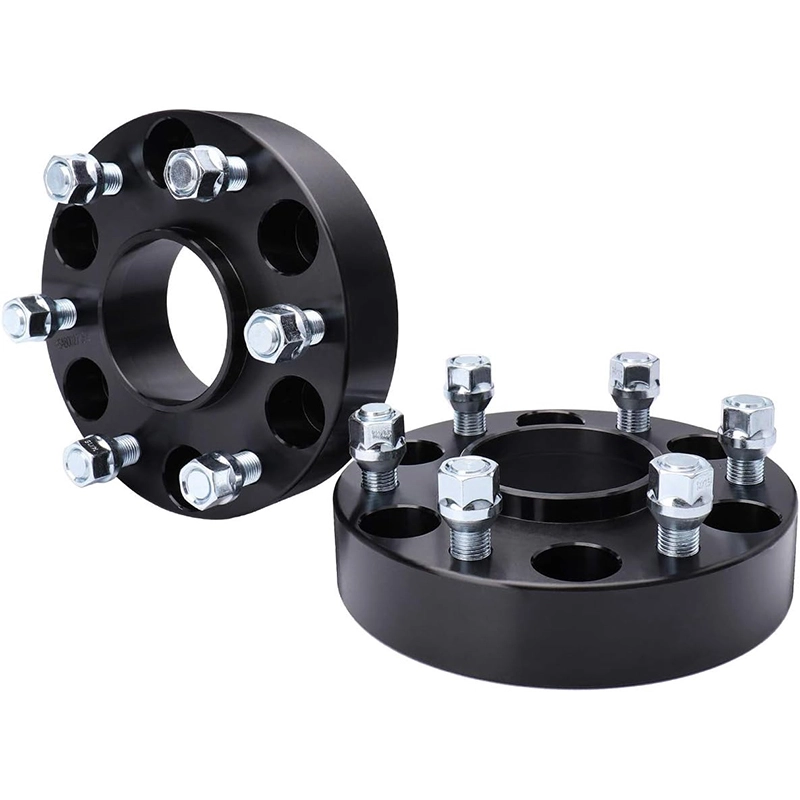
J&W's PCD 6x139.7 CB95.1 adapter listing includes custom thickness and thread options. Those are specification choices to confirm for an order, not permission to combine separate adapters.
For a replacement enquiry, supply both the vehicle-side and wheel-side dimensions. A product name or matching PCD alone is not fitment approval.
View the six-lug adapter specificationsIf you are unsure which mounting system you have, compare slip-on and bolt-on spacers before requesting a replacement.
How to request one correct replacement
“Replace my two spacers with one” is a starting point, not a complete specification. The original stack may already have placed the tire too far outward or failed to clear a brake component correctly. Recheck the required position instead of copying the old total automatically.
- Identify the parts. Record the vehicle model and year, wheel size and offset, tire size, spacer part numbers and any brake or suspension changes. Separate front and rear axle information.
- Measure the required movement. Establish the actual clearance problem and the outward movement needed. Check the outer clearance as well as the inner gap, with allowance for the relevant steering and suspension positions.
- Record the locating geometry. Supply hub pilot diameter and projection, wheel center bore, entry chamfer and mounting-face recesses. Include a sketch or dimensioned photos where the shape is difficult to describe.
- Identify the fastening system. Record thread size and pitch, bolt or stud arrangement, seat type and the existing hardware dimensions. For a bolt-on solution, include rear wheel-pocket details where relevant.
- Ask for the documented assembly. Confirm the part number, hardware, application coverage and installation instructions together. Do not approve a replacement on thickness alone.
Use the wheel spacer measurement guide to organize the clearance information. If the required assembly cannot be confirmed, changing the wheel specification may be more appropriate than adding more spacing.
Already running stacked spacers?
Do not use the absence of vibration as proof that the stack is approved. Avoid further road use until a qualified technician has assessed the assembly and arranged a suitable replacement or a confirmed compatible original configuration.
Arrange professional inspection and recovery where necessary. Do not attempt to make an uncertain assembly usable by applying extra torque.
During inspection, the technician should assess the mating surfaces, centering features and fasteners for damage or interference. Removing one spacer is not automatically a complete fix: the remaining hardware may now be too long, or the wheel may lose the clearance the stack was intended to create.
After a correct replacement is fitted, follow the applicable installation and recheck instructions. Do not apply another brand's torque or recheck interval to your parts without confirmation.
Questions about stacking wheel spacers
Can I stack two 5 mm wheel spacers?
Do not combine independently selected spacers because their thicknesses add up correctly. Use one application-approved spacer with suitable centering geometry and hardware for the required position.
Is a hub-centric ring the same as another spacer?
No. A correctly specified hub-centric ring adapts a locating diameter. A wheel spacer changes axial wheel position. A ring does not approve a stacked spacer assembly, and its fit must still be checked with the surrounding parts.
Does using longer studs make stacked spacers acceptable?
No. Longer studs address available thread length, not the compatibility of mounting faces or centering features. The complete spacer and hardware arrangement needs application-specific approval.
Can I stack spacers temporarily to test the stance?
Do not road-test an improvised stack. Use measurements, wheel and brake templates, or a professionally controlled static fitment assessment to establish the required position.
Is every multi-piece spacer system unsafe?
An engineered multi-piece system must be assessed and installed as the exact documented assembly. It is not equivalent to combining separately selected spacers, and it does not override a manufacturer's prohibition on stacking.
Need a different thickness?
Send the complete fitment.
Send J&W the vehicle and wheel details, required spacing per side, hub and bore dimensions, hardware specification, and photos of both mounting faces. Ask about a single suitable spacer or adapter rather than another layer.
Send Your Fitment Details