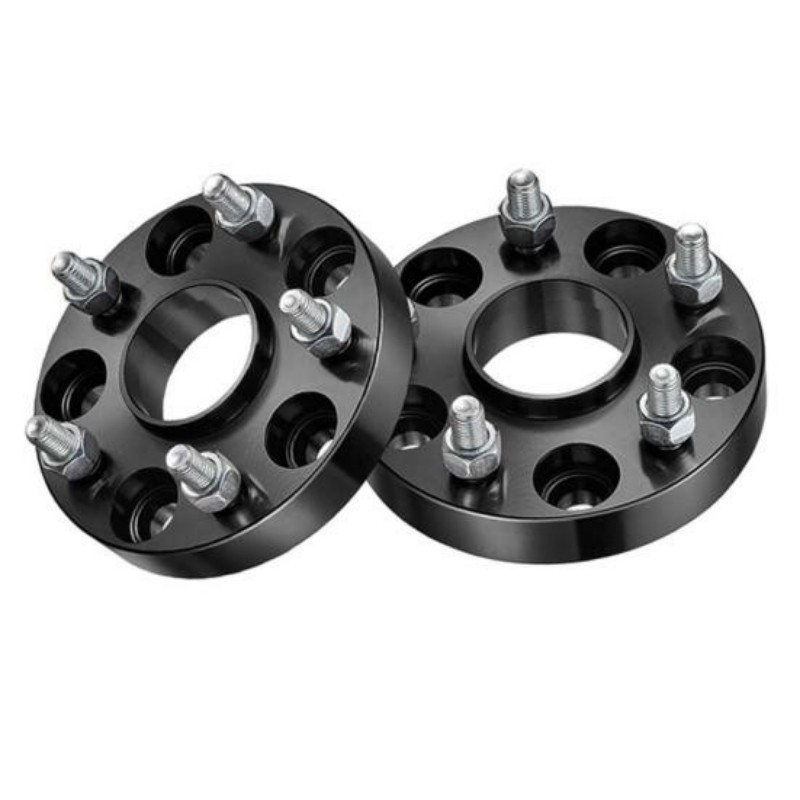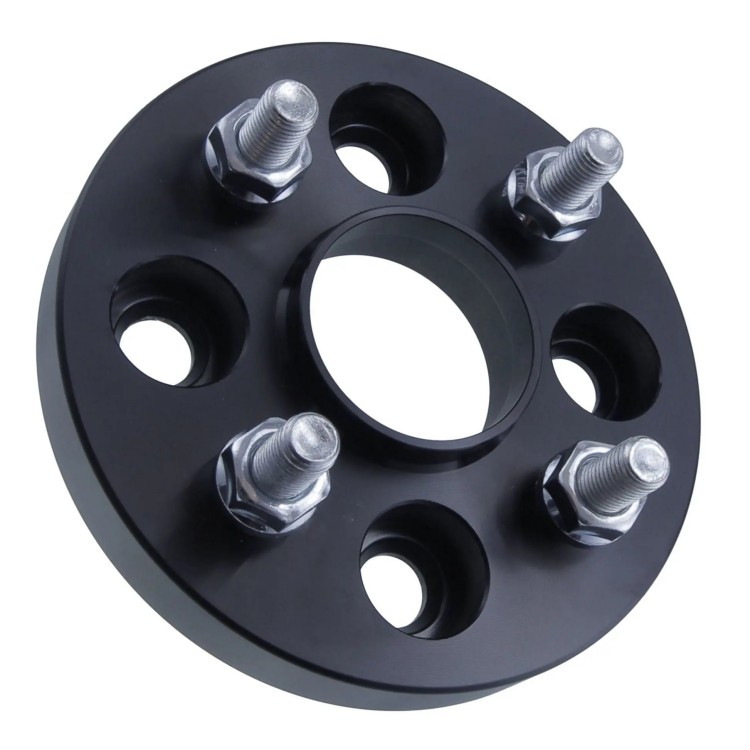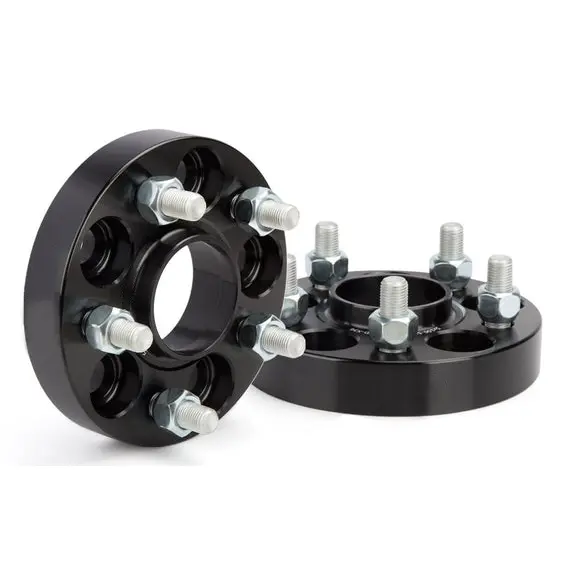

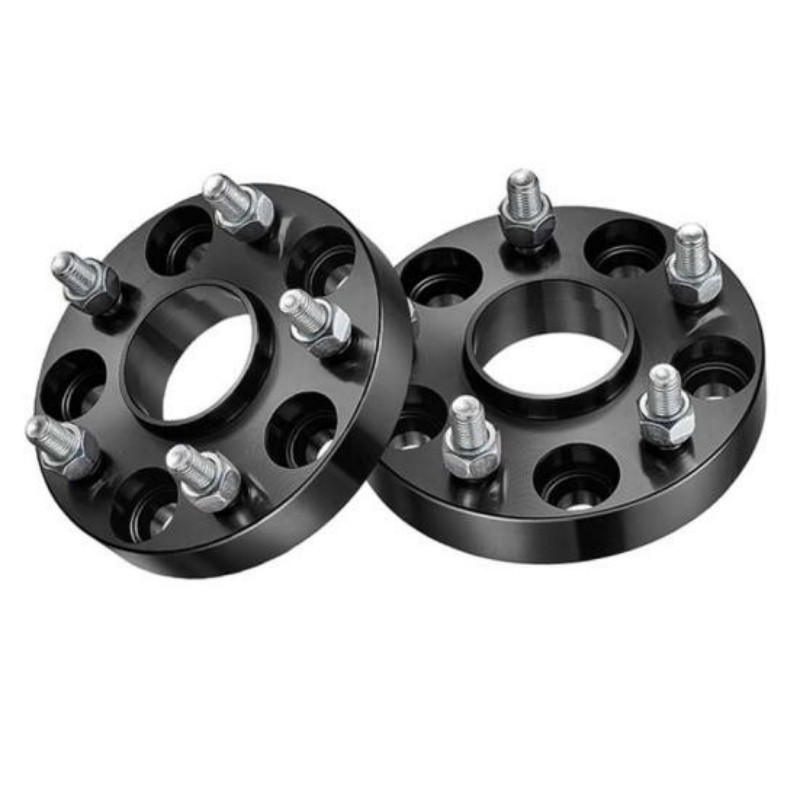
Choose a slip-on spacer when the approved application uses the original hub interface with longer bolts or studs. Choose a bolt-on spacer when the part fastens to the hub first and provides new studs or threaded holes for the wheel. Thickness, hub fit, hardware and wheel back-pad clearance must all support that choice.
“Slip-on” and “bolt-on” describe the attachment sequence, not a universal quality grade. Either can be appropriate when the spacer, wheel and hardware form one approved application. Either can be wrong when selected by appearance or thickness alone.
This is a focused comparison spoke. Use the complete wheel spacer fitment guide for PCD, center bore and offset, and the measurement guide for thickness and clearance.
Slip-on vs bolt-on wheel spacers at a glance
| Decision point | Slip-on | Bolt-on |
|---|---|---|
| Attachment | Sits between hub and wheel | Fastens to hub; wheel fastens to spacer |
| Hardware | Usually longer bolts or studs | Two hardware interfaces |
| Thickness | Common in thinner applications | Needs room for its attachment structure |
| Wheel back pad | Check lip engagement and normal seating | May need pockets for original hardware projection |
| PCD conversion | Normally no | Only when designed as an adapter |
Eibach currently lists 3–25 mm for its slip-on systems and 15–45 mm for its bolt-on systems. H&R publishes several different systems and ranges. These are manufacturer examples, not universal limits.

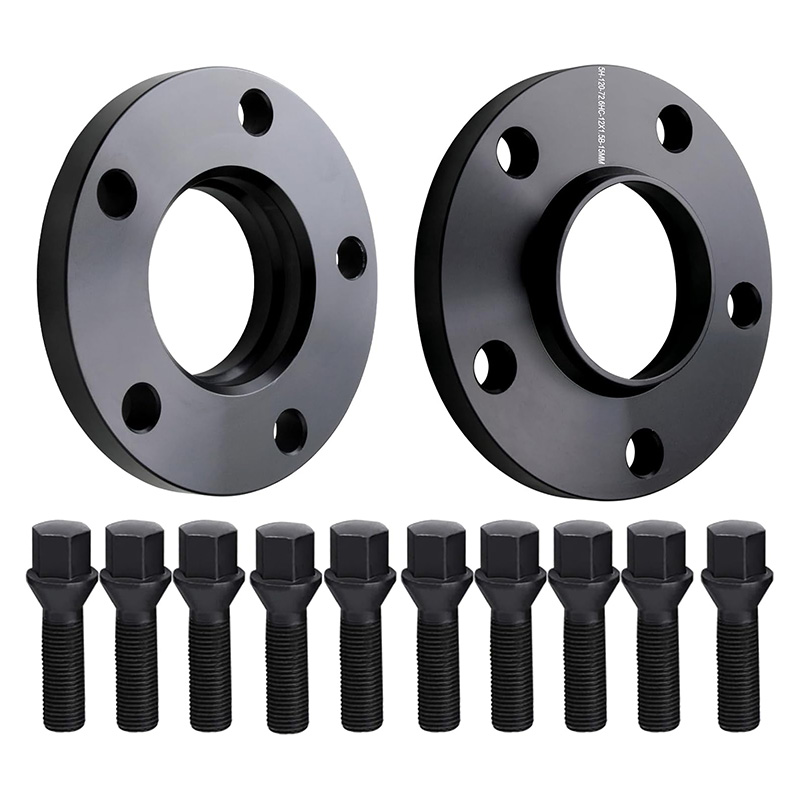

How a slip-on spacer works
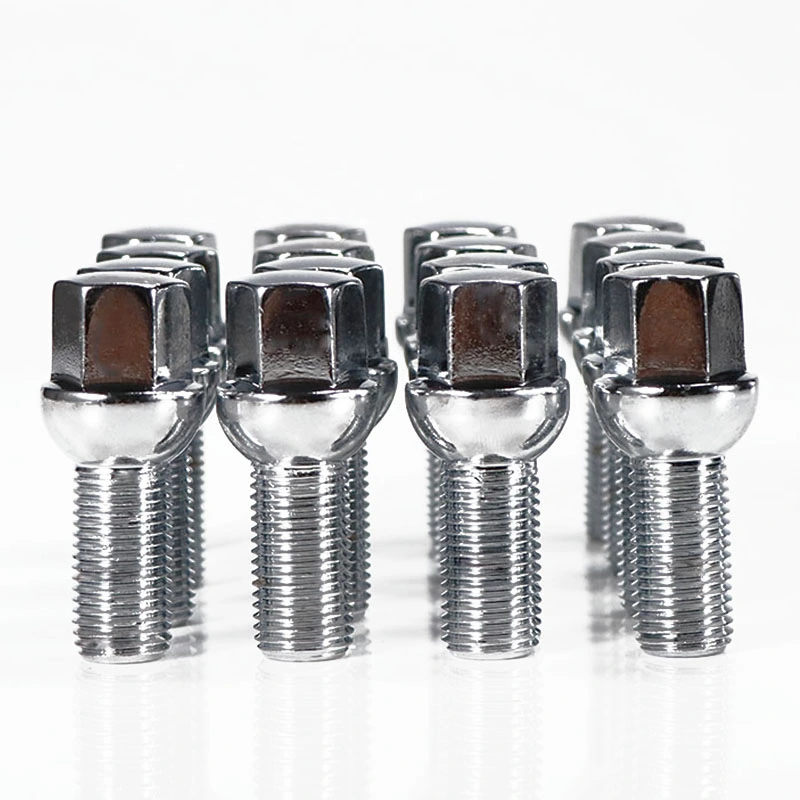
The spacer slides over the original hub or studs and stays between the hub mounting face and the wheel. The wheel still attaches to the vehicle's original threaded hub or studs, so the fasteners must account for the added thickness.
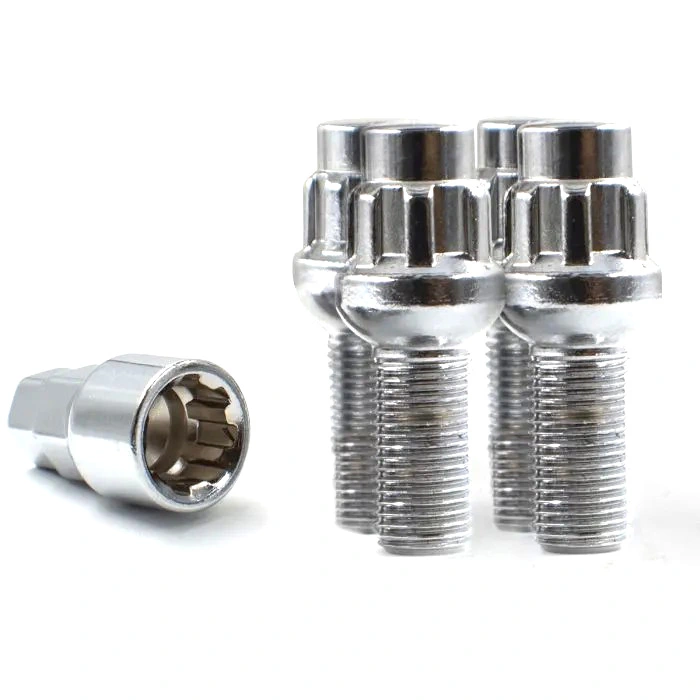
H&R describes its DR system as a spacer between wheel and hub that requires longer bolts, while its DRS system uses replacement longer studs. Eibach likewise states that its slip-on systems use extended bolts or studs. “Slip-on” does not mean the original hardware is automatically suitable.
- Confirm PCD, vehicle hub diameter and wheel center bore.
- Keep the correct thread diameter, pitch and wheel-seat shape.
- Verify usable fastener length and required engagement.
- Check that the spacer sits flat and preserves the intended centering interface.
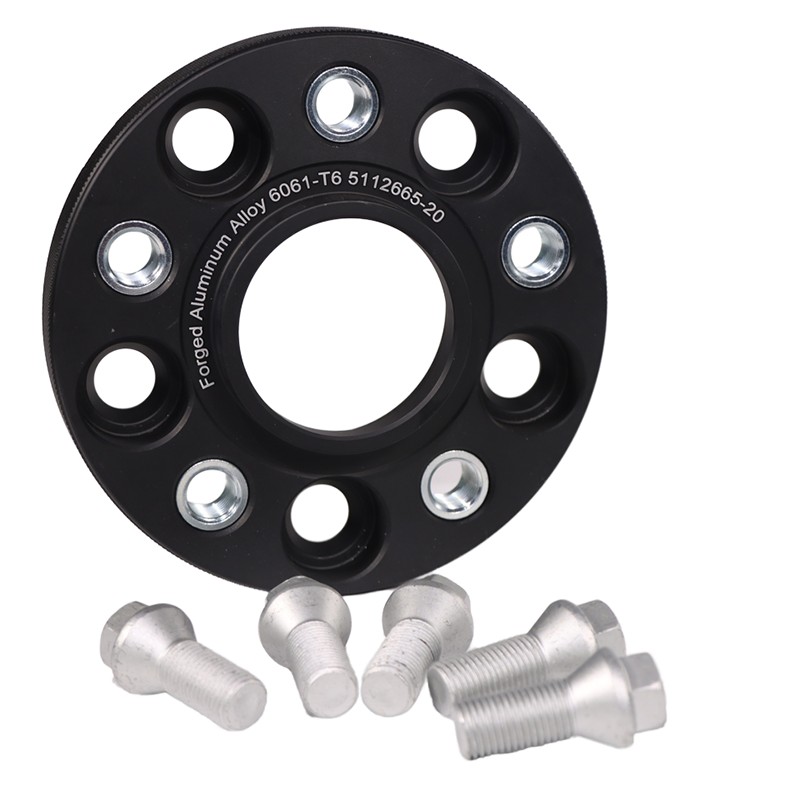
How a bolt-on spacer works
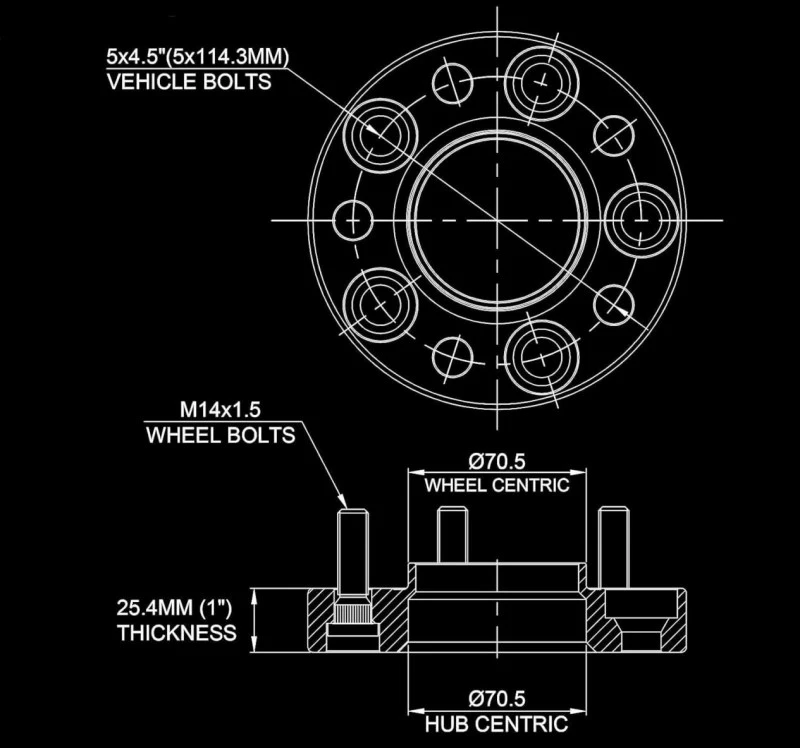
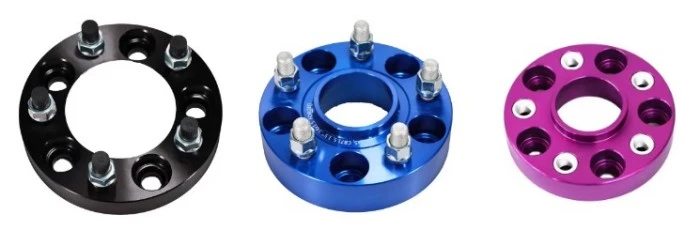
A bolt-on spacer attaches to the hub first. The wheel then attaches to new studs or threaded holes in the spacer. H&R's DRA system bolts to the hub and provides new threaded holes; its DRM system attaches to original studs and provides new studs for the wheel.
This construction creates extra fitment points: room for hub-side fastener heads, the wheel-side stud or thread, and any original hardware that projects beyond the spacer face.
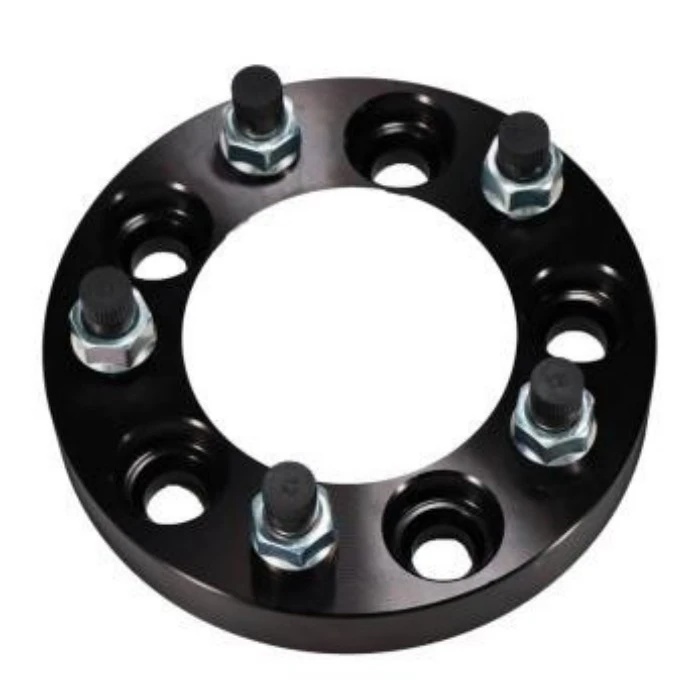
The hardware path is the real difference
In a slip-on system, one fastener passes through the wheel and spacer into the original hub or nut. In a bolt-on system, one set clamps spacer to hub and another clamps wheel to spacer.
| Check | Slip-on | Bolt-on |
|---|---|---|
| Vehicle-side thread | Remains the wheel-fastener thread | Controls spacer-to-hub hardware |
| Wheel-side thread | Same continuous fastener path | Defined by spacer studs or holes |
| Seat geometry | Extended fastener must match wheel | Wheel-side hardware must match wheel; hub-side heads must seat in spacer |
| Torque procedure | One specified stage | Two specified fastening stages |
Use a torque wrench and the exact vehicle, wheel and spacer instructions. Do not transfer a torque value from a visually similar kit. See Are Wheel Spacers Safe? for broader installation factors.
Installation and service are different too
A slip-on spacer is removed with the wheel because it is not separately fastened to the hub. Inspection therefore focuses on the spacer faces, hub fit, extended hardware and the wheel's final seating. On stud vehicles, installing a slip-on system with replacement extended studs may still require substantial workshop work because the original studs must be pressed out and compatible longer studs installed correctly.
A bolt-on system adds a fastening stage that becomes hidden after the wheel is installed. The installer must first seat and tighten the spacer to the hub according to the product instructions, then attach the wheel to the spacer using the specified wheel-side hardware. Both stages require clean mating surfaces, correct seating and their own inspection.
| Service question | Slip-on | Bolt-on |
|---|---|---|
| What comes off with the wheel? | The loose spacer normally comes off too | The spacer remains attached until its hub-side fasteners are removed |
| What must be rechecked? | Extended hardware, faces and hub engagement | Both fastener sets, both faces and wheel-pocket clearance |
| What can be hidden? | Limited hub-lip engagement behind the wheel | Spacer-to-hub fasteners and original stud projection |
Manufacturer recheck intervals differ. Follow the interval stated for the exact spacer, vehicle and wheel rather than publishing one distance as a rule for every system.
Bolt-on systems add a wheel-pocket question
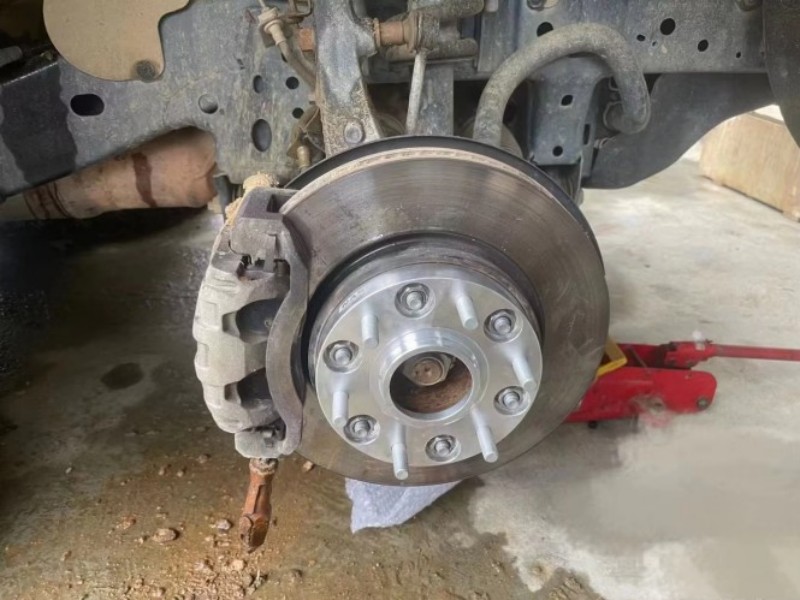
Original studs or bolt ends may project beyond the spacer face. Eibach states that some bolt-on systems require pockets or cut-outs in the rear wheel pad so the wheel can sit flush.
wheel pocket depth > hardware projectionMeasure usable depth and diameter; contact is not acceptable.
A wheel without a suitable recess may appear aligned while being held away from the mounting face. Measure before ordering and dry-fit before final installation.
Hub-centric fit is separate from attachment type
A spacer can be slip-on or bolt-on and still use a hub-centric locating design. Check the vehicle-side bore and wheel-side lip rather than assuming the fastener style determines centering. Our hub-centric vs lug-centric guide covers that decision.
Whatever the attachment type, the part must align with the PCD, clear chamfers and sit fully flush. Stop if the spacer rocks, binds or leaves a visible gap.
Choose the system from the application
| Application need | Likely direction | Confirm |
|---|---|---|
| Relatively thin position change | Slip-on | Hub-lip engagement and longer hardware |
| Replacement extended studs | Slip-on stud system | Stud knurl and professional installation |
| Separate spacer-to-hub attachment | Bolt-on | Fastener recess and two torque stages |
| Original stud projection remains | Bolt-on with pockets | Projection and wheel-pocket dimensions |
| Different wheel PCD | Purpose-designed adapter | Both PCDs, bores and hardware sets |
Manufacturer ranges overlap. An available 20 mm product can be slip-on or bolt-on depending on the application. The approved drawing and hardware path decide.
Three selection examples
A modest outward move on a wheel-bolt vehicle
If the approved application calls for a relatively thin spacer and compatible longer wheel bolts are available with the correct thread and seat, a slip-on system may provide the simplest hardware path. The remaining hub-lip engagement and full dynamic clearance still need verification.
A thicker system on a vehicle with original studs
A bolt-on stud system may be appropriate when the spacer attaches to the original studs and supplies a new stud set for the wheel. Before choosing it, measure how far the original studs project beyond the spacer face and whether the wheel back pad has suitable pockets. If the wheel cannot sit flat, the system does not fit.
A wheel with a different bolt pattern
Neither an ordinary slip-on ring nor a same-PCD bolt-on spacer solves a PCD mismatch. This requires a purpose-designed adapter with a defined vehicle-side pattern, wheel-side pattern, two center interfaces and compatible hardware. Do not enlarge holes or treat a near-match PCD as interchangeable.
These examples are decision patterns, not application approvals. The exact product drawing, vehicle service information and wheel data control the final choice.
B2B buyers should specify the attachment system
A request for “20 mm hub-centric spacer” is incomplete. Include vehicle, year, trim and axle; both PCD and center diameters; slip-on, bolt-on or adapter; thickness and clearance; complete thread and seat details; stud projection and wheel-pocket depth; material, finish, marking, packaging, quantity and inspection requirements.
J&W lists wheel spacer production and wheel spacer adapter options. Website examples are starting points; the approved purchase drawing should define the exact system.
Slip-on vs bolt-on spacer FAQ
What is the main difference between slip-on and bolt-on wheel spacers?
A slip-on spacer sits between the hub and wheel, so the wheel still fastens to the original hub or studs with application-specific longer hardware. A bolt-on spacer fastens to the hub first and provides new studs or threaded holes for the wheel.
Do slip-on wheel spacers need longer bolts or studs?
Usually yes. Slip-on systems commonly require longer bolts or replacement extended studs. Thread, seat, usable length and required engagement must match the exact vehicle, wheel and spacer instructions.
Why do some bolt-on spacers require wheel pockets?
Original studs or bolt ends may project beyond the spacer face. Recesses in the wheel back pad must contain that projection so the wheel can sit fully flat.
Are bolt-on spacers always thicker than slip-on spacers?
They generally need enough thickness for their separate attachment hardware, but ranges are product-specific. Eibach currently lists 3–25 mm for its slip-on systems and 15–45 mm for its bolt-on systems.
Is a wheel adapter the same as a bolt-on spacer?
Not necessarily. A bolt-on spacer usually retains the same PCD on both sides. A wheel adapter may use one vehicle-side PCD and a different wheel-side PCD, so both interfaces must be confirmed.
Which type of wheel spacer is safer?
Neither attachment type is automatically safer in every application. Safety depends on correct application design, compatible hardware, flat mating faces, required clearance, specified torque and professional installation.
Technical sources
- Eibach — PRO-SPACER Wheel Spacers: system descriptions, ranges and wheel-pocket requirement.
- H&R — TRAK+ Wheel Spacers: DR, DRS, DRA and DRM attachment descriptions.
- H&R — TRAK+ Application Note: longer bolt, seat and engagement requirements.
Specify the attachment system before requesting a quote
Send J&W both mounting interfaces, target thickness, hardware path, wheel-pocket dimensions and quantity.
Send Your Spacer SpecificationEditorial scope: This comparison does not replace application-specific instructions, a qualified installer or local regulations. J&W images and offering details were checked on the live website on 20 Aug 2026.