
The number belongs to a defined joint
Spacer thickness does not tell you the tightening torque. The correct value comes from the instructions that control the vehicle, wheel, spacer system and exact hardware.
There is no universal wheel spacer torque spec. For a slip-on spacer, find the specified torque for the wheel fasteners used through that spacer. For a bolt-on spacer, verify two joints separately: spacer to hub, then wheel to spacer. If the documents conflict or do not cover the exact parts, stop and resolve the conflict before installation.
The correct value describes a complete fastening condition
A torque value is an installation control for a particular fastener and joint. It is not calculated from spacer thickness, PCD or center bore. A 10 mm spacer and a 20 mm spacer do not automatically require different torque, and two M14 fasteners do not automatically share the same value.
The installer needs to know which parts are being clamped, which bolt or nut is used, how its seat contacts the wheel, what thread it mates with and which surface condition the specification assumes. A number separated from those conditions is incomplete.
If all you have is spacer thickness and thread diameter, you do not have enough information to approve torque. Identify the system and controlling document first.
Torque is used to develop clamp load in a threaded joint. The relationship is affected by friction in the threads and below the bolt head or nut, as well as coatings and lubrication. That is why adding anti-seize, oil, threadlocker or a different washer can invalidate a value that was specified for another condition.
Use the thread and seating condition stated by the vehicle, wheel, spacer or hardware instructions. If the condition is not stated clearly, ask the responsible supplier rather than improvising.
Use a source ladder, not the first chart in search results
The exact hierarchy depends on the spacer design and the instructions supplied with it. This ladder prevents a generic chart from overruling application-specific information.
-
Exact spacer instructionsConfirm the system, included hardware, installation condition, sequence and any separate spacer-to-hub requirement.Part specific
-
Vehicle workshop or owner informationUse the correct vehicle, axle and wheel-fastener specification where the spacer instructions direct you to the vehicle value.Vehicle specific
-
Wheel manufacturer instructionsAn aftermarket wheel may specify its own fastener seat, hardware and torque requirement. Confirm that it is compatible with the spacer arrangement.Wheel specific
-
Supplied fastener documentationCheck thread, seat, length, finish and any condition that changes the approved tightening method.Hardware specific
A conflict is not solved by choosing the highest number. The highest value can exceed the limit of another component or assume a different friction condition. Record the conflict and obtain written clarification for the exact assembly.
Slip-on and bolt-on spacers do not have the same torque path
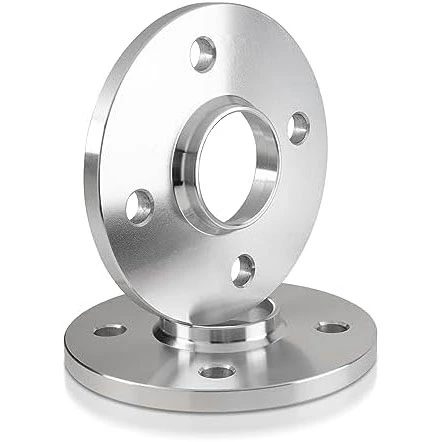
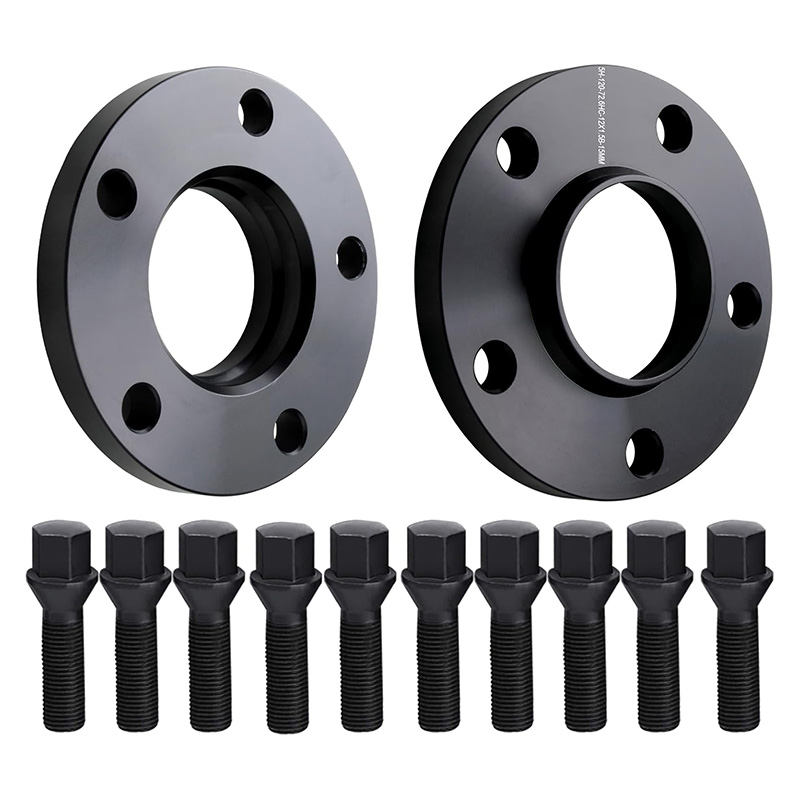
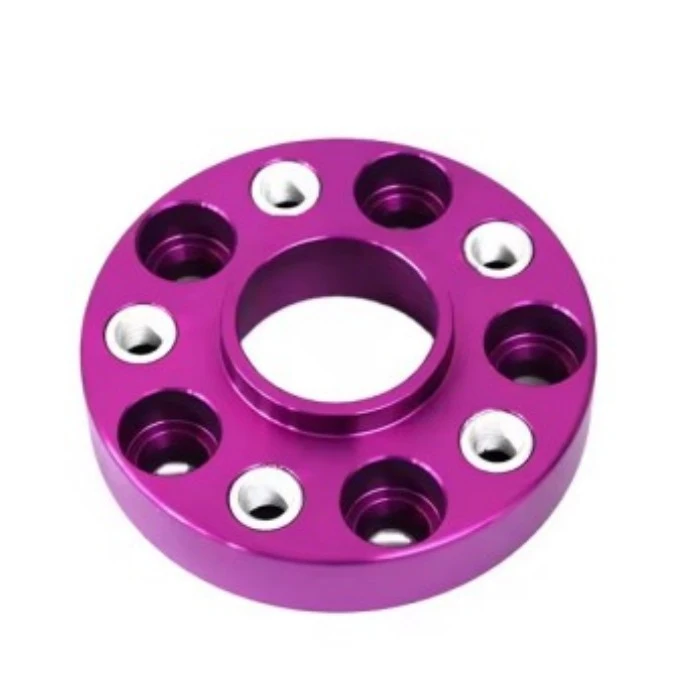
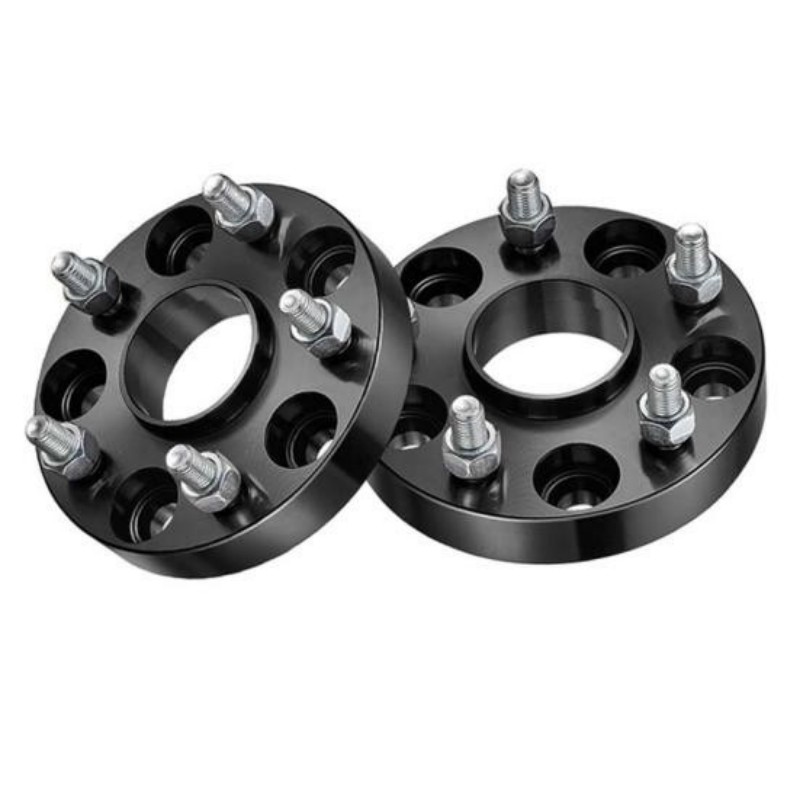
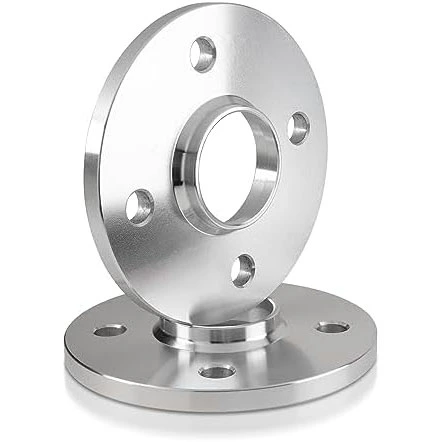
A slip-on spacer normally sits between the wheel and hub while longer bolts or studs maintain the fastening path. A bolt-on spacer or adapter is attached to the hub first, then the wheel is attached to the spacer. The second design creates two clamp interfaces that must be documented separately.
Swipe the diagram to compare the two fastening paths.
Swipe the table to see all columns.
| System | Interface to document | Hardware to identify | Torque source |
|---|---|---|---|
| Slip-on spacer with longer bolts | Wheel and spacer clamped to threaded hub | Thread diameter and pitch, bolt length, wheel-seat profile, finish and condition | Exact spacer instructions plus the vehicle or wheel specification they reference |
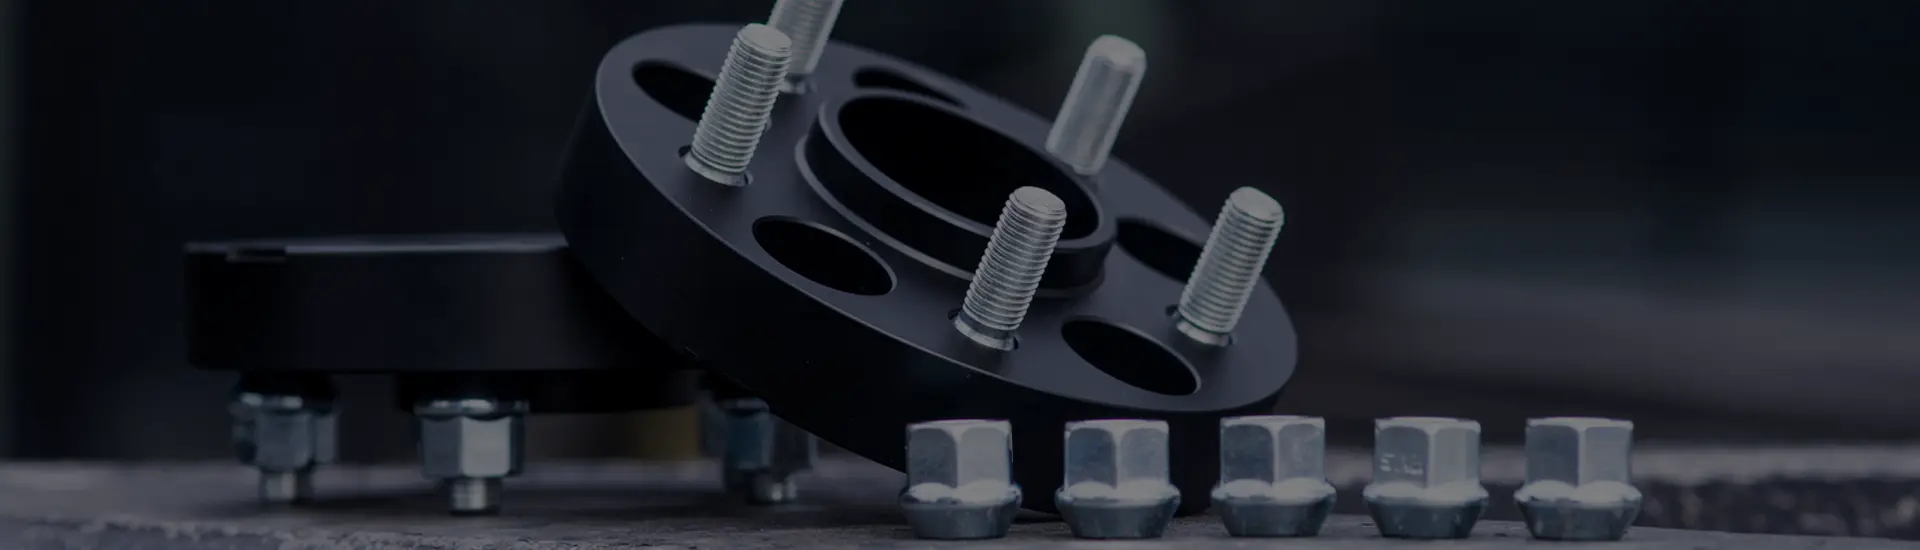
| Slip-on spacer with extended studs | Wheel and spacer clamped to hub by stud and nut | Stud installation requirements, nut thread and wheel-seat profile | Stud installation document and wheel-fastener specification |
| Bolt-on spacer with studs |
1. Spacer to hub 2. Wheel to spacer studs |
Inner nuts or bolts, outer studs and wheel nuts | Two recorded values or one explicitly approved value for both |
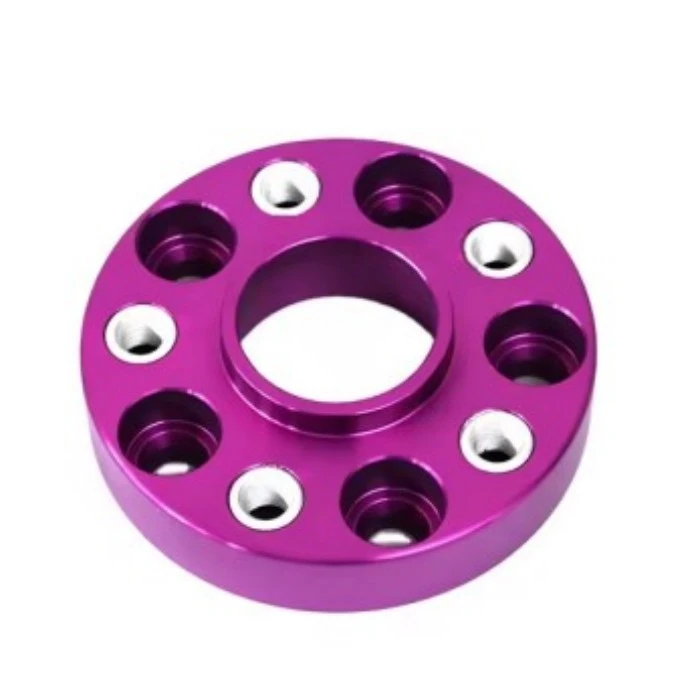
| Bolt-on adapter with threaded holes |
1. Adapter to hub 2. Wheel bolts to adapter |
Inner attachment hardware and outer wheel bolts | Adapter instructions plus compatible wheel and vehicle documentation |
A generic M12 or M14 torque chart leaves out the seat and surface condition
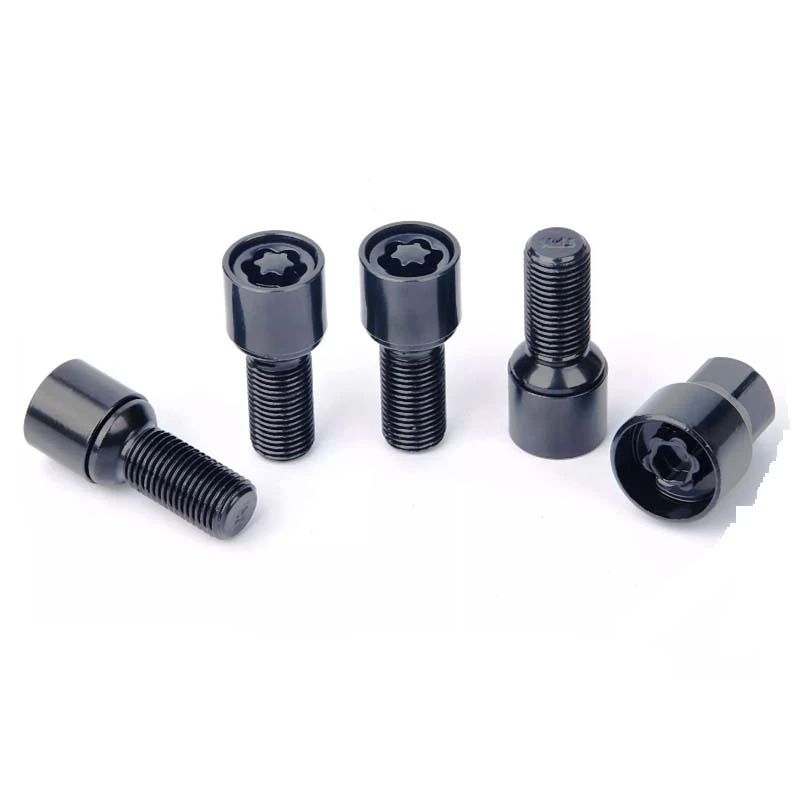
Thread diameter and pitch matter, but they do not define the wheel interface by themselves. Conical seats, ball seats and flat or mag-style seats contact the wheel differently. The correct part must match the wheel before any torque value is considered.
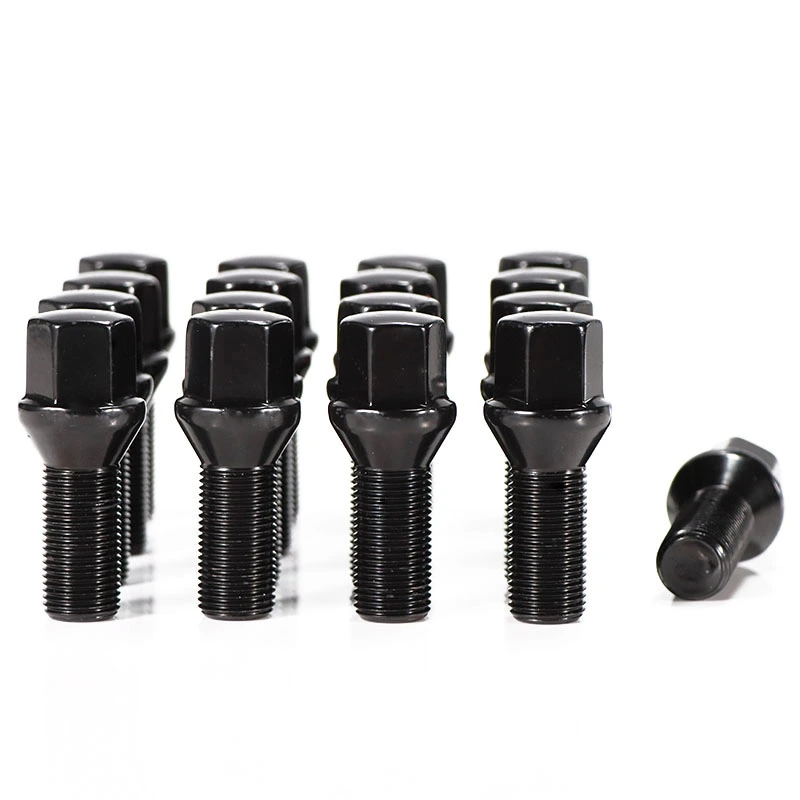
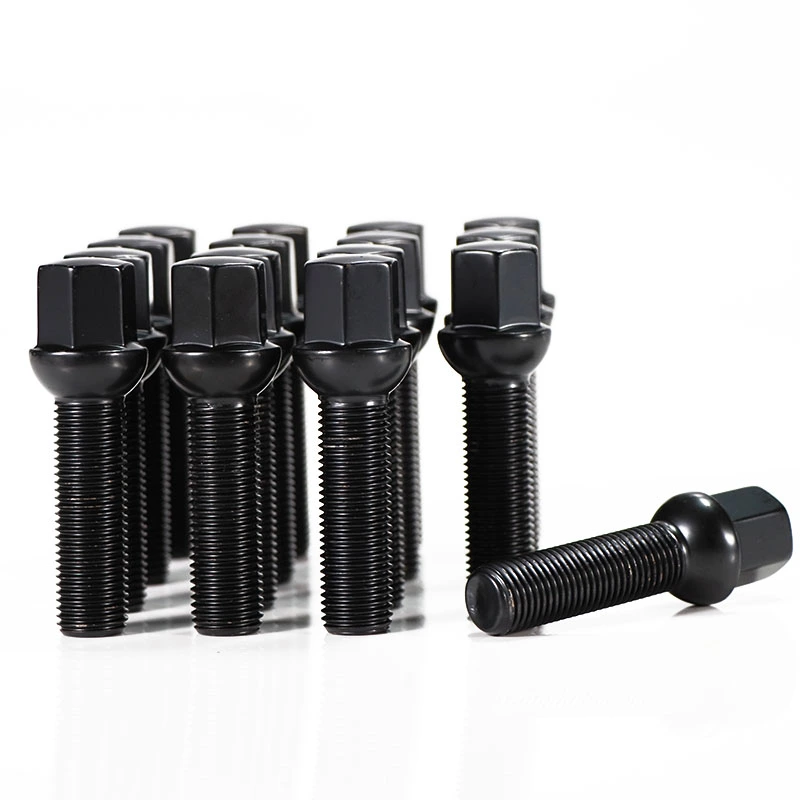
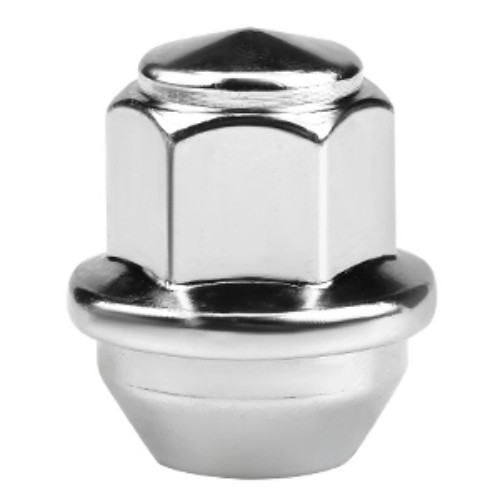
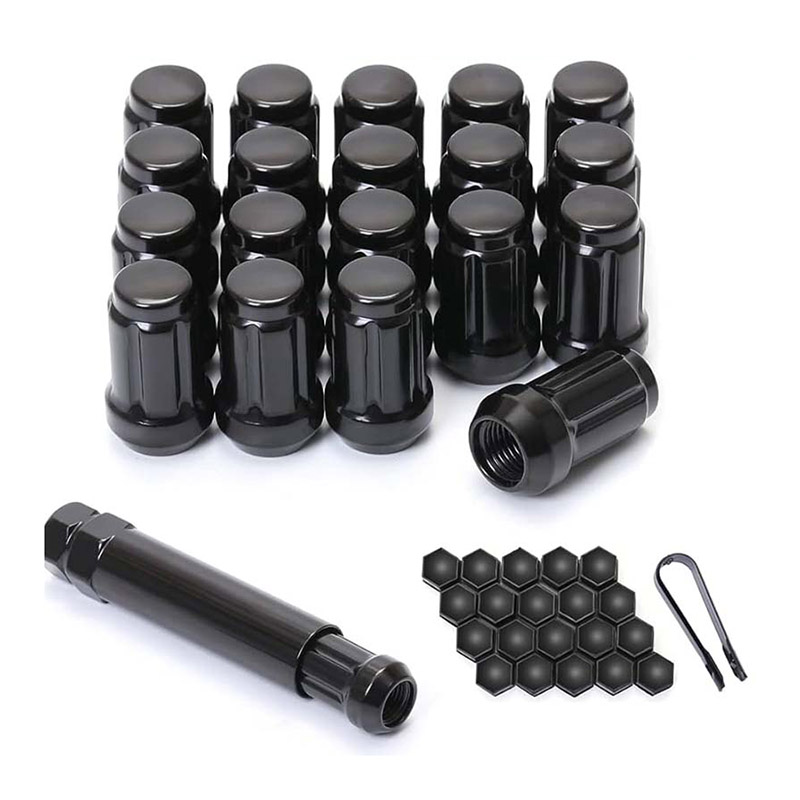
Same thread, different joint
Wheel material, seat profile, fastener finish, mating threads and specified surface condition can differ even when the nominal thread is identical.
Same spacer thickness, different joint
Thickness changes the required fastener reach for some systems. It does not select the tightening torque or prove usable engagement.
Higher bolt grade, not automatic permission
A stronger bolt does not raise the allowable load of the wheel seat, hub threads, spacer threads or every other part in the joint.
More torque, not a fix for poor seating
Rust, debris, an incompatible center lip or protruding stock hardware can prevent full contact. Tightening harder does not repair the geometry.
The method matters after the number has been verified
Follow the exact spacer and vehicle procedure. The sequence below is a control checklist, not a replacement for those instructions.
- Confirm the value and conditionRecord the units, interface, source document and whether the threads must be dry or treated exactly as specified.
- Inspect every mounting faceThe hub, spacer and wheel must sit fully flush. Remove only contamination the instructions permit you to remove.
- Verify the hardware identityCheck thread, seat, length, usable engagement, stud protrusion, socket or key fit and any supplied washers.
- Start each fastener by handA fastener that binds before seating needs inspection. Do not use a power tool to force crossed or incompatible threads.
- Snug in the specified cross patternBring the faces together evenly. Follow the pattern shown for the vehicle or spacer system.
- Use a suitable torque wrench for final tighteningAn impact tool is not a substitute for the final controlled torque-wrench step.
- Complete both stages on bolt-on systemsDo not install the wheel until the hidden spacer-to-hub interface has been completed and recorded.
- Check free rotation and clearanceAfter installation, follow the instructions for checking brake, sensor, body and suspension clearance before road use.
The slip-on versus bolt-on spacer guide can help identify the system before the torque documents are reviewed. For PCD, center interfaces and fastener selection, use the wheel spacer fitment guide.
Record the required recheck interval instead of inventing one
Spacer and vehicle instructions may require a torque recheck after defined distances or service events. Follow the interval that covers the exact product. For example, Eibach's general PRO-SPACER instruction D2356 calls for checks after approximately 25 miles and again at 500 miles for the systems covered by that document. Those distances are not a universal schedule for every spacer.
A recheck is also an inspection. Look for a joint that was not fully seated, damaged threads, a changed wheel-seat mark, contact, unusual noise or any fastener that requires unexpected movement. Do not keep resetting a moving fastener to the same number without finding the cause.
On many bolt-on systems, the wheel covers the spacer-to-hub hardware. Record how and when that inner interface must be inspected according to the product instructions.
A usable torque record names the interface, source and condition
Writing “torqued to spec” does not tell a later technician which spec was used. A short record prevents the inner and outer joints from being confused.
For a fitment enquiry, attach the relevant pages from the vehicle, wheel and spacer instructions. Do not send only a screenshot of a generic torque table without its source and scope.
Torque is one approval inside a complete wheel-spacer fitment
Send both joints, not one loose number
Include the vehicle, wheel, spacer part, fastener details, thread and seat, the controlling documents and the proposed torque for each interface. That makes the fitment review traceable.
- Eibach: PRO-SPACER installation instructions, D2356, used for mounting-face checks, hardware verification, use of a torque wrench, the instruction to obtain torque from the workshop or wheel-manufacturer specification, and the product-specific recheck intervals.
- Eibach: PRO-SPACER systems overview, used to distinguish slip-on systems using extended hardware from bolt-on systems with their own studs or threads.
- NASA Reference Publication 1228: Fastener Design Manual, used for the general torque-preload explanation and the effects of thread friction, bearing-surface friction, coatings and lubricants.
Safety note: This article deliberately does not provide a universal torque chart. Use the exact vehicle, wheel, spacer and hardware instructions. Installation and inspection should be performed by a qualified automotive professional when the specification, part compatibility or joint condition is uncertain.