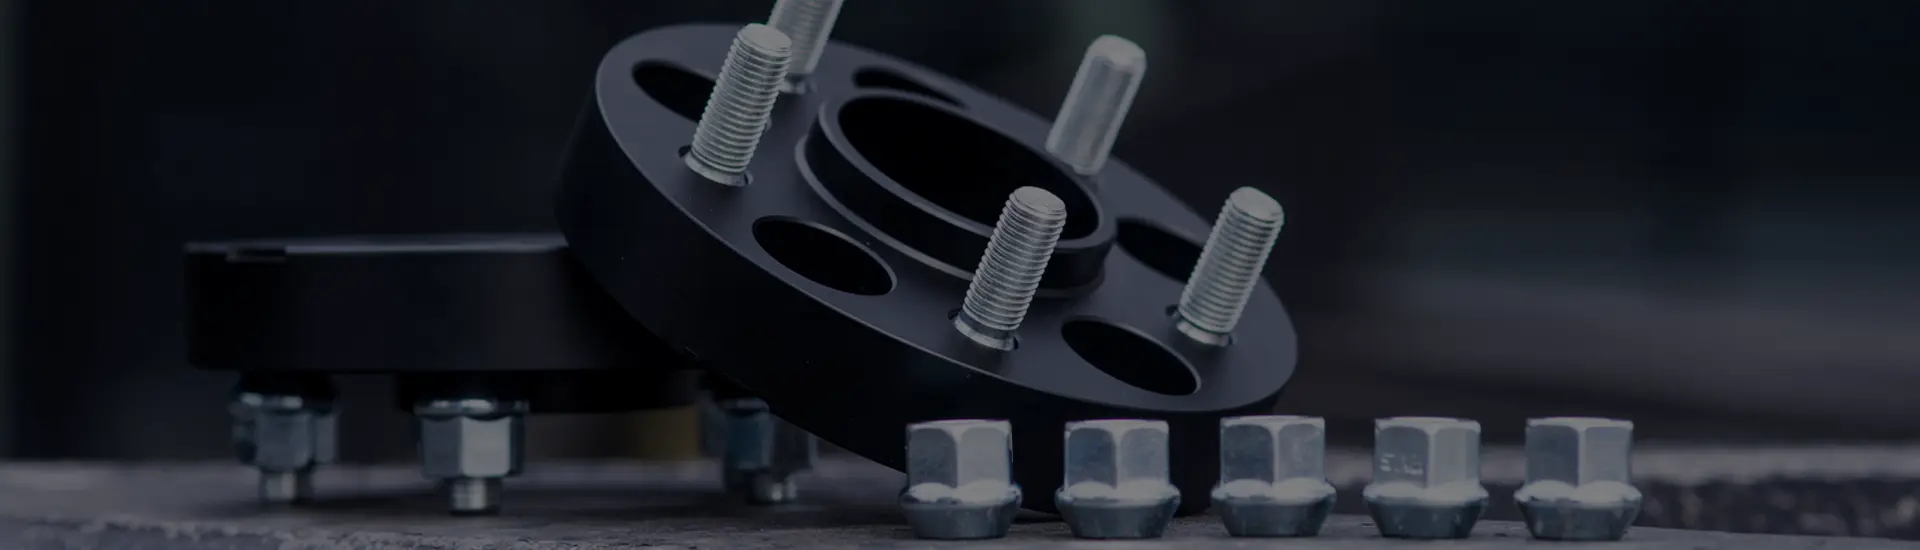

Wheel position and wheel angle are separate measurements
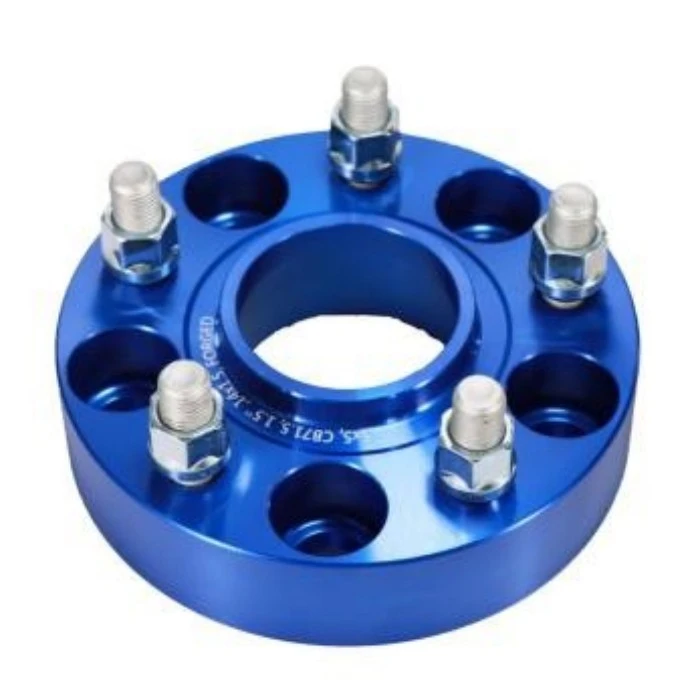
A flat wheel spacer moves the wheel outward. It does not directly rotate the wheel into a new toe or camber angle, but it can change other geometry that a driver may mistake for alignment.
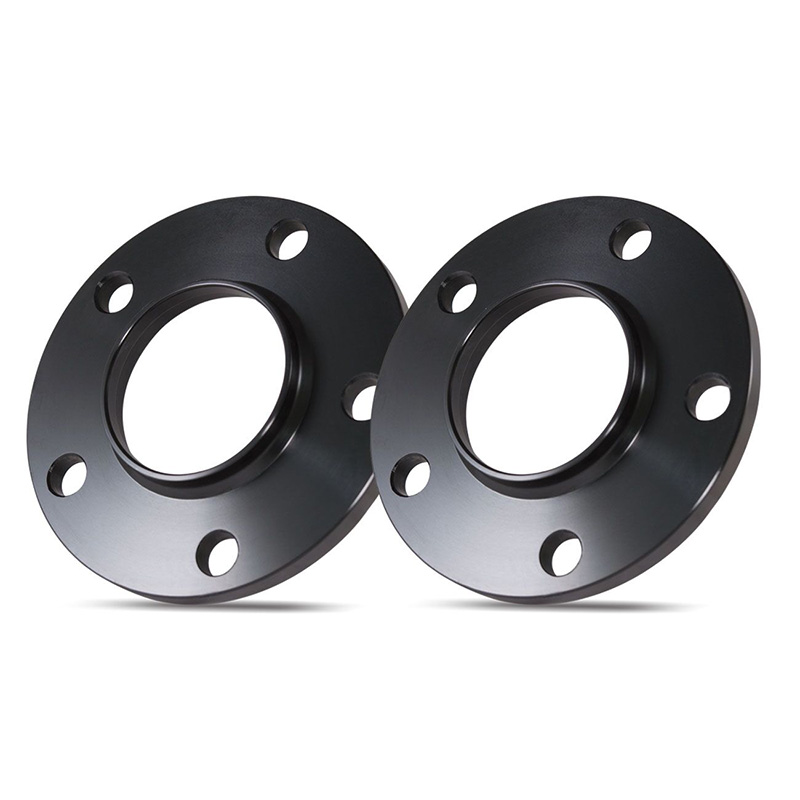
Under four conditions, a wheel spacer does not directly change static toe, camber or caster: the same wheel and tire remain fitted, the spacer seats flat, ride height is unchanged, and no suspension or steering parts were adjusted. It still changes effective offset and track width. On the front axle, it also moves the tire contact patch relative to the steering axis, so steering feel can change without the alignment angles changing.
A spacer translates the wheel plane; alignment describes its angle
Toe, camber and caster are angular relationships. A correctly seated flat spacer adds distance between two parallel mounting faces. If nothing else moves, the wheel plane shifts outward while keeping the same static orientation.
Outward movement is not the same as angular movement. A 15 mm translation does not mean 15 mm of toe or camber change. Alignment is measured in angles or angle-derived values, not spacer thickness.
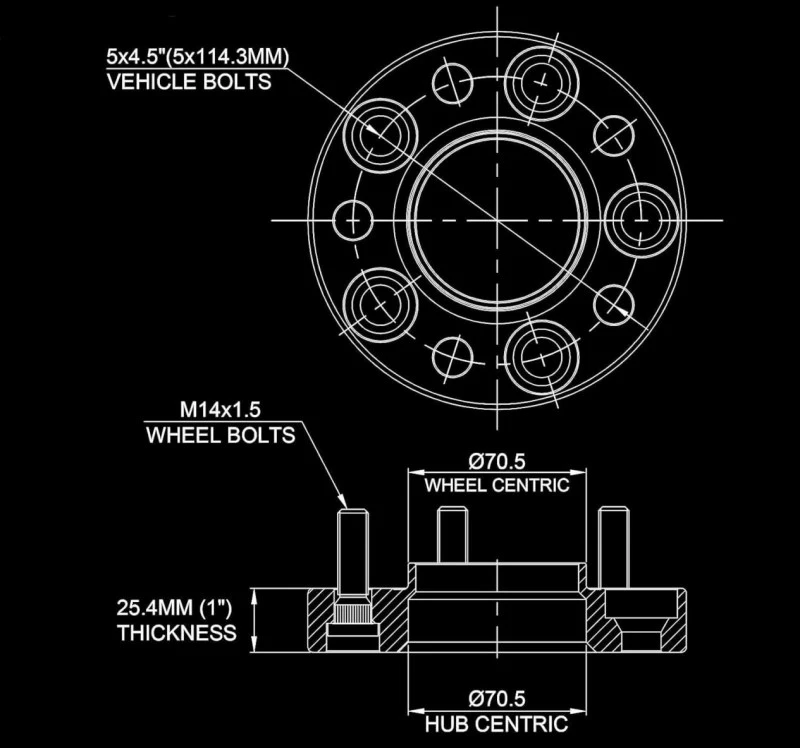
Swipe the diagram to compare translation with rotation.
Caster needs one extra distinction. Caster describes the steering axis in side view. A wheel spacer does not move the suspension pivots that define that axis. It does move the tire contact patch relative to the axis, which belongs to steering geometry rather than a caster adjustment.
Alignment, offset, scrub radius and clearance answer different questions
A driver can feel a steering change and call it "alignment." A technician may use the same word only for toe, camber and caster readings. Separating the measurements prevents the symptom from being assigned to the wrong cause.
Swipe the table to see all columns.
| Measurement | What it describes | Effect of a flat wheel spacer | Where to continue |
|---|---|---|---|
| Toe | Wheel direction in plan view relative to the vehicle centerline or the other wheel. | No direct change under the four stated assumptions. | Check alignment if the vehicle pulls, the steering wheel is off-center or tire wear suggests a toe problem. |
| Camber | Wheel tilt inward or outward when viewed from the front. | No direct change under the four stated assumptions. | Compare readings with the vehicle manufacturer's procedure and limits. |
| Caster | Steering-axis tilt in side view. | No direct change because the spacer does not relocate suspension pivots. | Do not confuse caster with the contact patch moving relative to that axis. |
| Effective offset and track width | The installed lateral position of the wheels. | Changes in direct relation to spacer thickness when the same wheel is used. | Use the wheel spacer overview for the position calculation. |
| Scrub radius | The ground-level relationship between the steering axis and tire contact patch. | Can change on a steering axle because the contact patch moves outward. | Read the scrub-radius explanation. |
| Clearance | Space around the wheel, tire, brake, suspension and body. | Inner clearance increases while outer clearance decreases at comparable points. | Measure the actual limiting point rather than inferring clearance from alignment data. |
A wheel spacer is not a suspension lift spacer
Wheel spacer
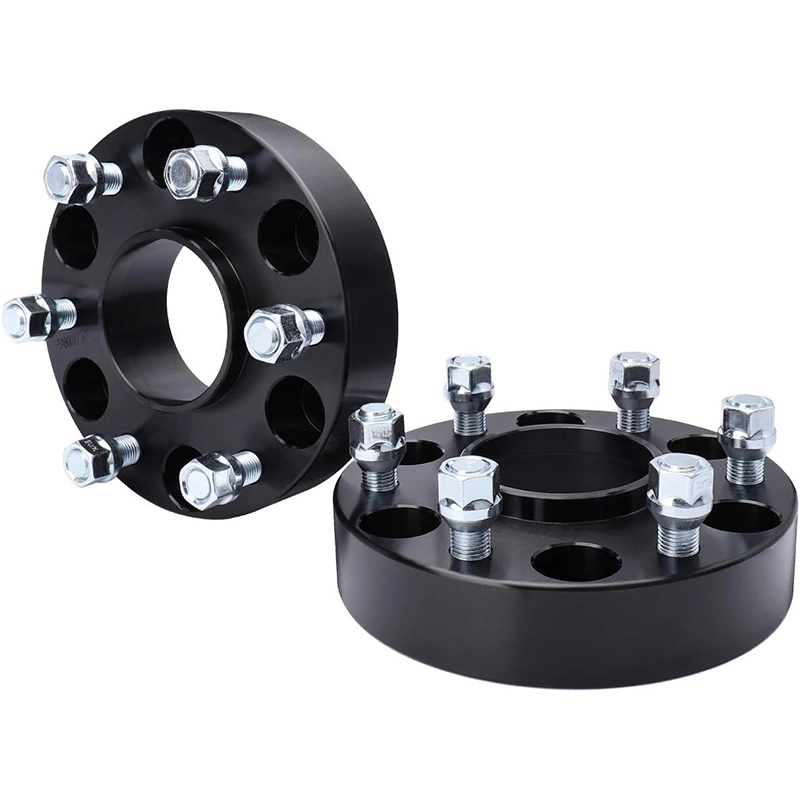
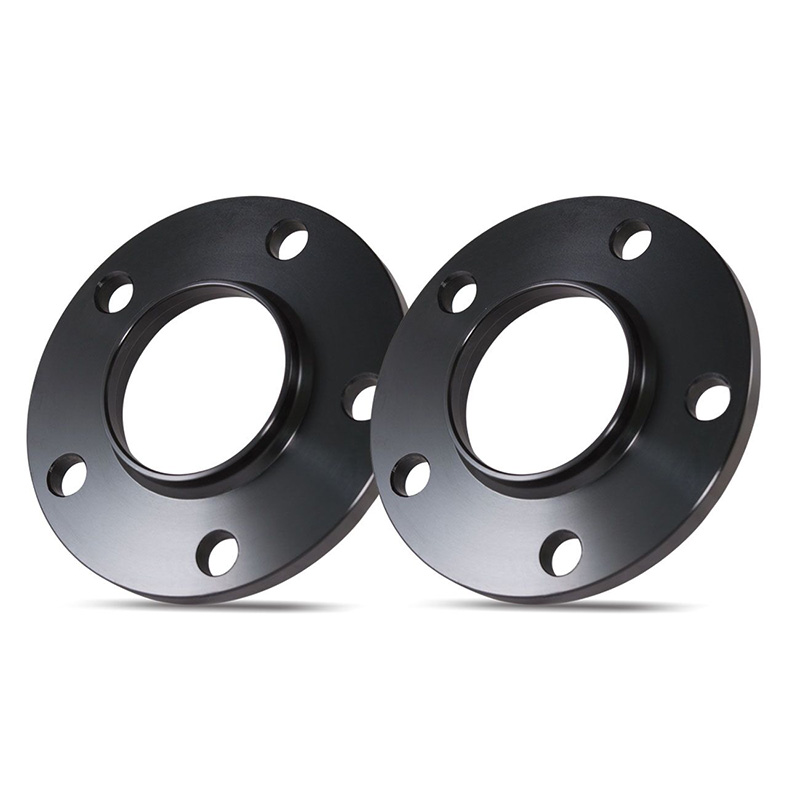
Installed between the hub and wheel. It changes lateral wheel position and effective offset. It does not raise the vehicle or relocate a control arm, strut or spring.
Suspension spacer
Installed in a suspension or spring assembly to change ride height. A ride-height change can move suspension arms through their arcs and may change alignment readings.
If both products were fitted during the same job, do not use the wheel-spacer explanation to dismiss the suspension change. Record every part changed before interpreting the alignment printout.
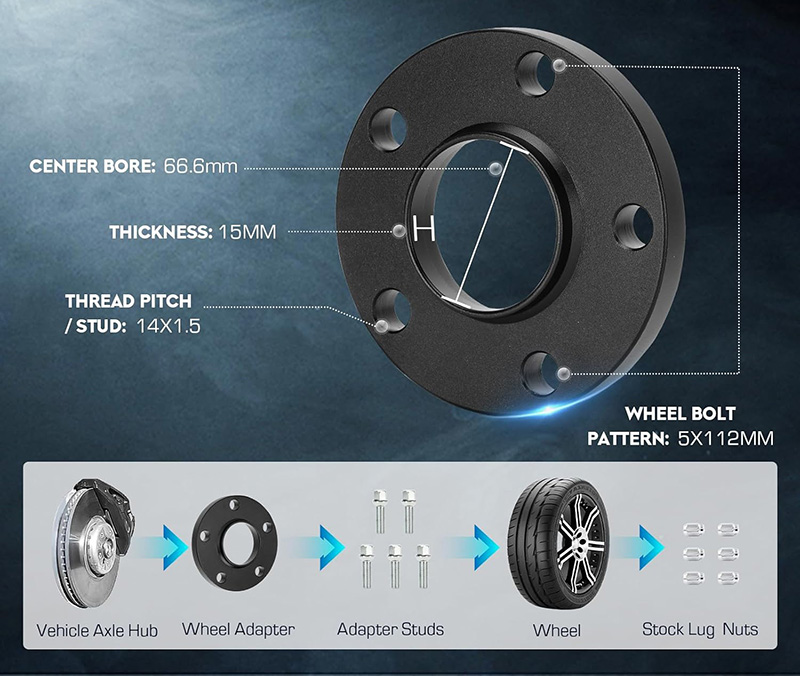
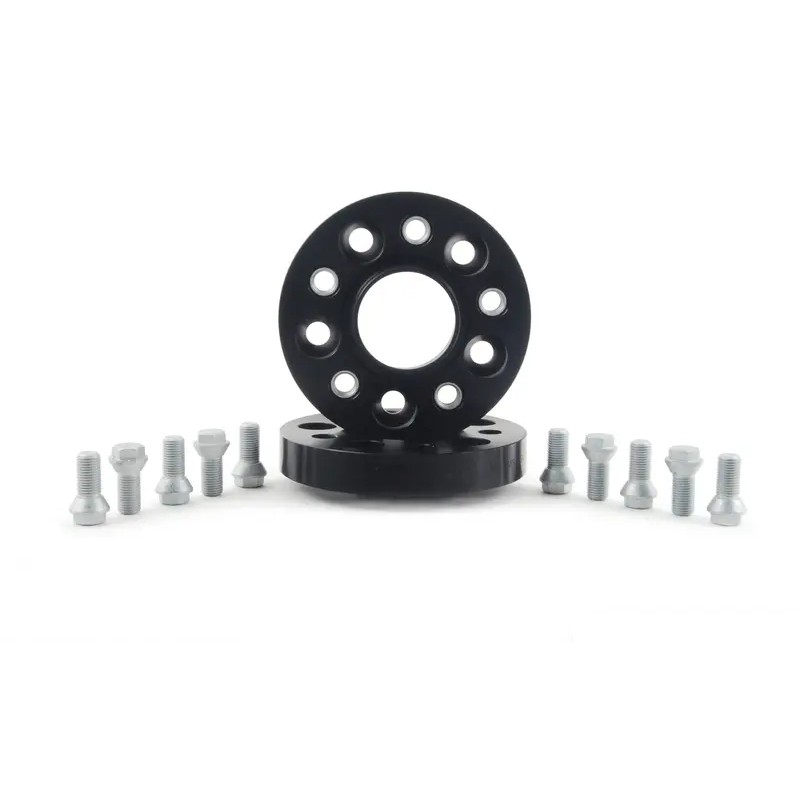
If the printout changes, inspect the setup before blaming thickness
A before-and-after alignment comparison is useful only when the vehicle and measurement procedure are comparable. Different tire pressure, load, ride height, target mounting, wheel runout compensation or suspension settling after lifting the vehicle can change the result. So can real suspension movement or wear that existed before the spacer was installed.
A spacer or wheel that does not seat flat creates another problem: the wheel plane can wobble as it rotates. That is an interface or runout fault, not a normal toe or camber adjustment. Remove and inspect the assembly before asking an alignment adjustment to hide it.
- Repeat under controlled conditionsUse the correct vehicle procedure, comparable tire pressures, load and ride height.
- Inspect both mounting facesCheck for rust, debris, lip interference, rocking, damage or a spacer that cannot reach full contact.
- Separate angular readings from symptomsRecord toe, camber and caster rather than using vibration, steering effort or appearance as substitutes.
- Compare with vehicle-specific limitsAlignment targets come from the vehicle procedure, not from spacer thickness or a generic internet value.
Inspection and adjustment are two separate decisions
A flat spacer alone does not prove that toe, camber or caster changed. That does not make an alignment inspection pointless. Eibach's published spacer instructions tell installers to inspect wheel alignment and adjust it if necessary after installation. The wording matters: measure first, then adjust only when the readings and vehicle procedure support it.
The steering wheel is off-center, the vehicle pulls, tire wear is uneven, suspension or steering parts were disturbed, ride height changed, or the vehicle instructions require a check.
Vibration began immediately, the wheel does not seat flat, centering is loose, hardware is uncertain, or the symptom changes with wheel speed.
There is rubbing at steering lock, during compression or near brake and suspension components. An alignment printout cannot approve physical clearance.
Steering effort or kickback changed while toe, camber and caster remain within specification. Review effective offset and scrub radius.
Pulling, vibration and tire rubbing do not point to the same test
Alignment is one possible cause of a pull or uneven tire wear. It is a poor first explanation for vibration that starts immediately after a spacer installation. Vibration calls for a seating, centering, hardware, wheel balance and runout inspection. The wheel spacer vibration guide follows that diagnostic order.
Rubbing is different again. It means the final wheel-and-tire path lacks clearance somewhere. Measure the contact area at steering and suspension positions rather than adjusting toe or camber simply to move the tire away from the body.
Record the same conditions before and after installation
A useful alignment record needs more than two colored printouts. Keep enough context to tell an actual angular change from a different test condition.
- vehicle, year, trim and axle;
- wheel width, diameter, offset and tire size;
- spacer type and measured thickness;
- ride height, tire pressure and relevant vehicle load;
- toe, camber and caster readings with the applicable specification;
- steering, vibration, rubbing and tire-wear symptoms before and after;
- notes or photos confirming that the hub, spacer and wheel seated flat.
Use the wheel spacer measurement guide to record hub, wheel, clearance and hardware data. Those dimensions belong beside the alignment record, not inside it.
Choose the next check from the symptom or decision
Send the wheel setup, not an alignment guess
Include the vehicle and axle, wheel and tire specification, spacer type and thickness, hub dimensions, alignment printout and the exact symptom. The complete record makes fitment and alignment questions easier to separate.
- Hunter Engineering: Finding the Best Alignment Machine for Your Shop, used for the definition of toe, camber and caster as the main alignment-angle measurements and the need for vehicle-specific procedures.
- OZ Racing: The wheel, used for the definition of wheel offset, PCD and center bore.
- Eibach: PRO-SPACER installation instructions, used for the post-installation inspection guidance and mounting-face checks.
Safety note: This article explains general geometry. Follow the vehicle, wheel and spacer instructions, use the vehicle-specific alignment procedure, and have unresolved steering, fitment or tire-wear symptoms inspected by a qualified automotive professional.